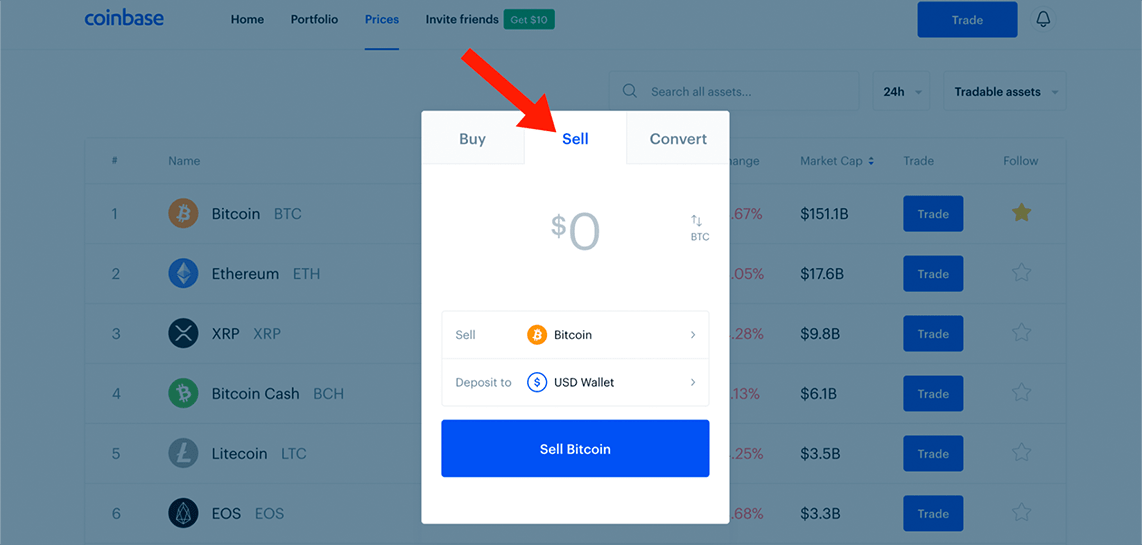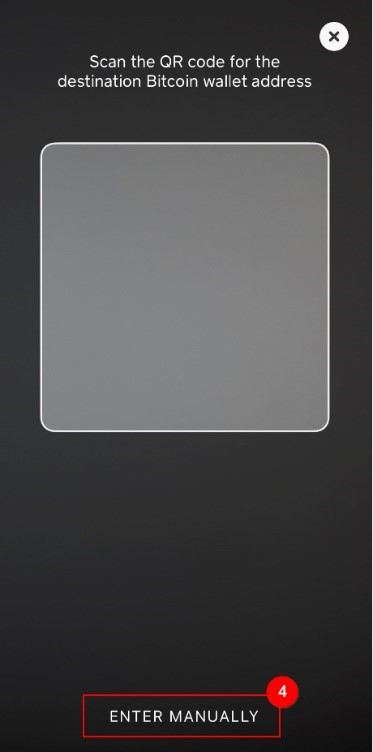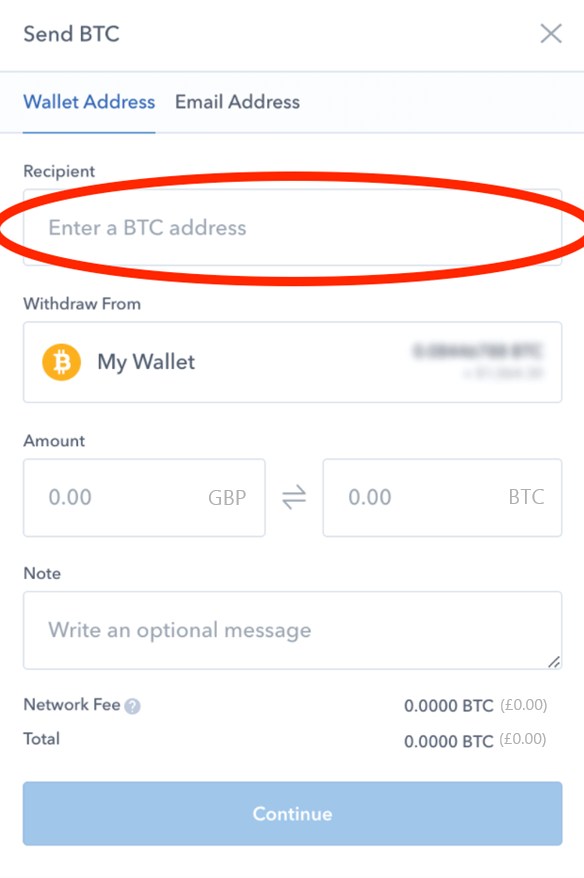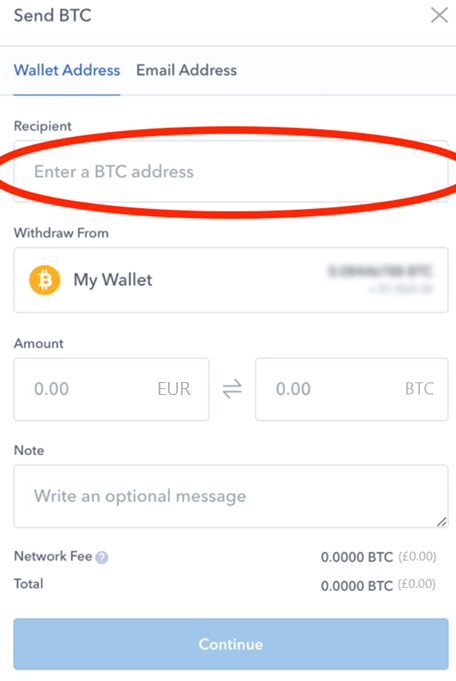
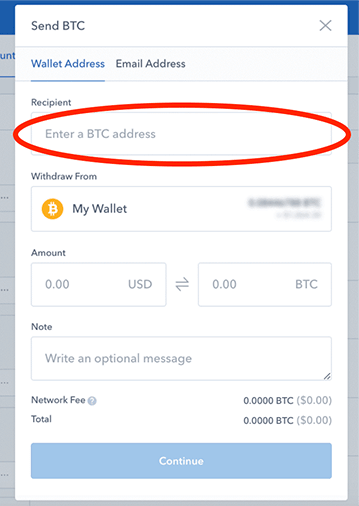
NOTE: Coinbase has the option of inputting an email address in the recipient field. This can only be used to send bitcoin to people who also have a Coinbase account.
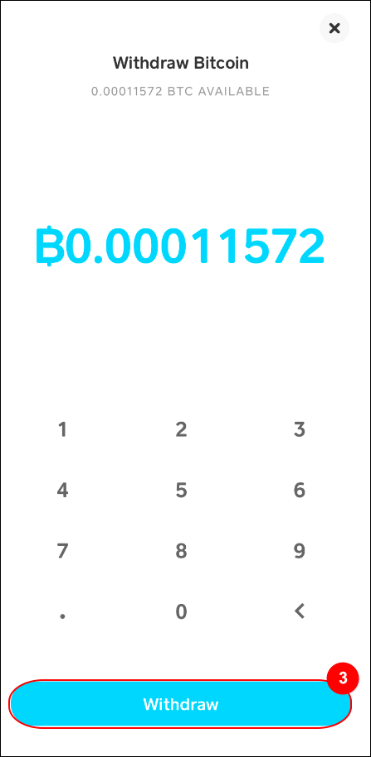
You’ll notice there’s a Network Fee when sending bitcoin. This fee is determined by Coinbase which, like a bank, is playing an intermediary role. As a Coinbase user, you’ll be paying a premium for the service provided by Coinbase.
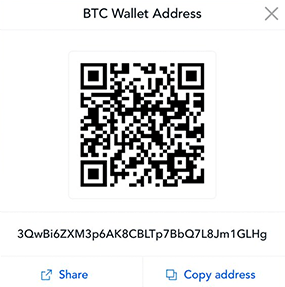
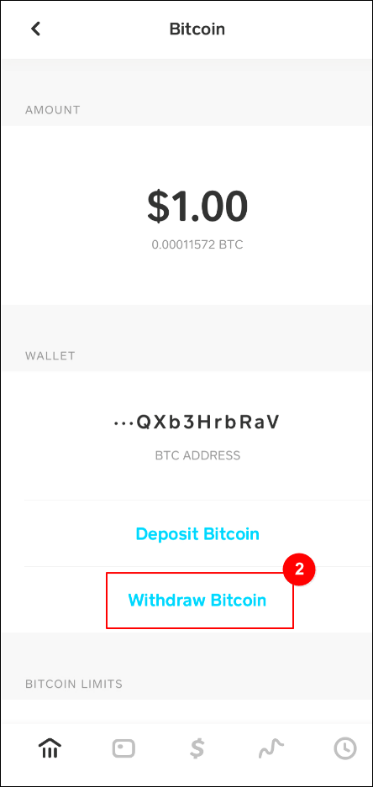
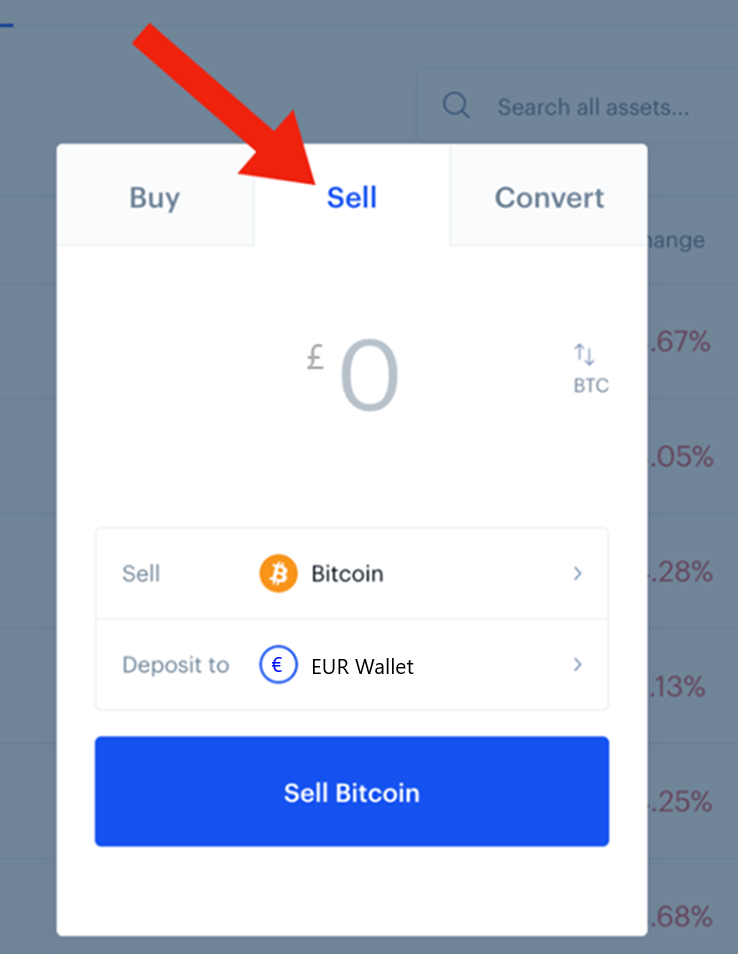
You can take self-sovereign possession of your bitcoin by sending it from Coinbase to your own custodial bitcoin wallet. Doing so will give you more control over the fees you pay for sending bitcoin in the future. Here’s our guide for how to create and manage a bitcoin wallet.
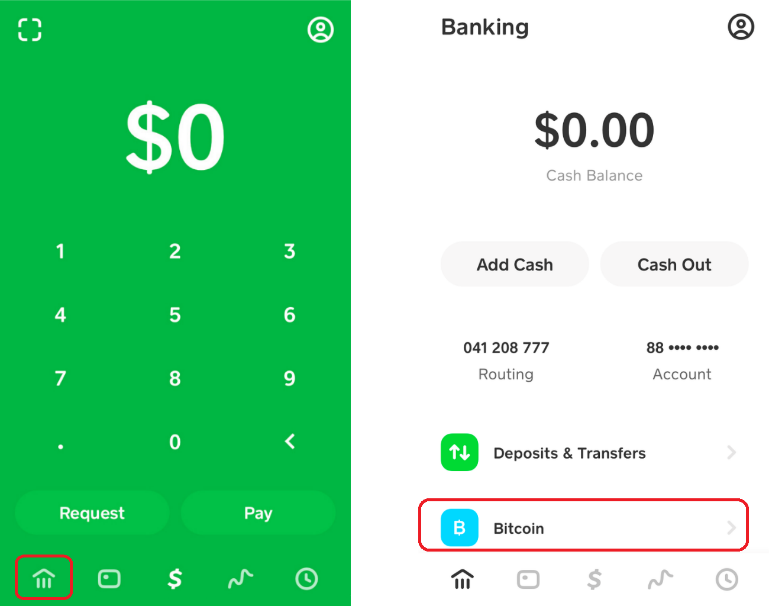
NOTE: For new accounts, Coinbase implements a waiting period between the time you purchase bitcoin and when you’re allowed to send it out of your Coinbase account. This is done for security reasons.